Introduction
We needed to do research on hardware and search for vulnerabilities for our specialization Cybersecurity. At first, we didn’t really know what to do the research on. We all thought the concept of a rubber ducky was interesting. So we decided to create our own rubber ducky’s and make this our research subject, because the one’s to buy are pretty expensive and we thought it would be interesting to see if it would work.
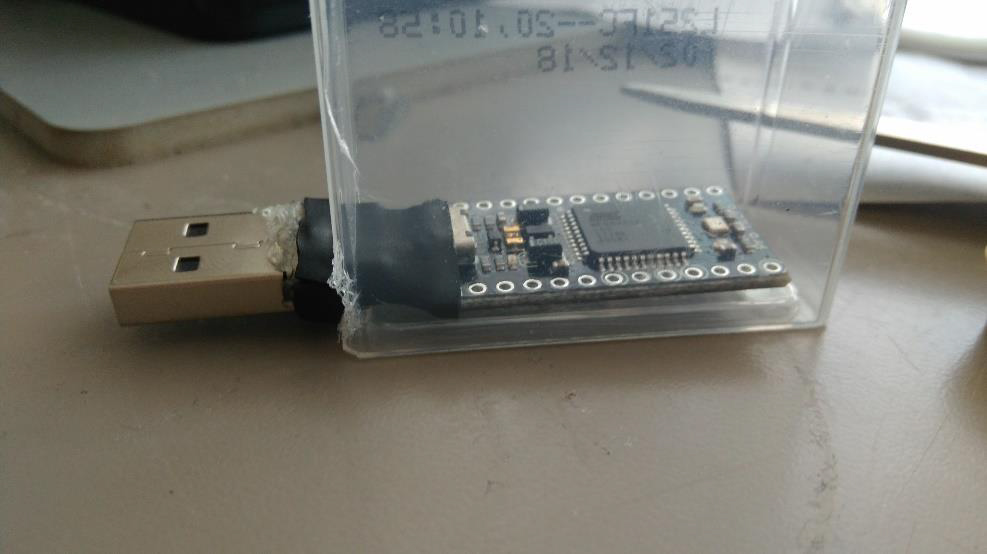
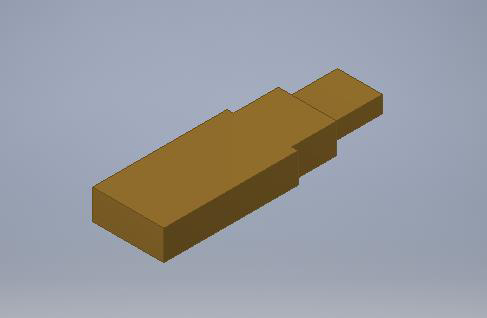
We also wanted to create a case for the USB because it looks really sketchy without a case and what we want is that people trust the USB and plug it in. Another thing what we wanted to do is create our chip so we could make a smaller chip then the Arduino pro micro. To do this we are going to make a drawing. At last we wanted to take look at placing the rubber ducky in another device, so we could proof that no USB is to be trusted.
USB Device Initialization Algorithm
The purpose of USB devices is defined by class codes communicated to the USB host for installation of the necessary drivers. The class codes allow the host to work with single-type devices from different manufacturers. The device may support one or several classes, the number of which is determined by the number of USB endpoints. When connected, the host requests a range of standard details from the devices (descriptors), which it uses to decide on how to work with it. The descriptors contain information about the manufacturer and device type, which the host uses to select the program driver.
A regular USB flash drive will have class code 08h (Mass Storage Device — MSD), while a web camera equipped with a microphone will have two codes: 01h (Audio) and 0Eh (Video Device Class).
When connected, the USB device is registered, receives an address and sends its descriptor/descriptors to allow the OS to install the necessary drivers and send back the required configuration. After that, the host immediately starts working with the device. Once the work is completed, the device is de-registered. It is important to note that the devices may have several descriptors, they can also de-register and register as a different device.
If you open the body of a USB flash drive, in addition to the mass storage visible to the user, there is a controller responsible for the above-described actions.
Bron: https://hackmag.com/security/rubber-ducky/
What is keystroke injection
Keystroke injection attacks are popular because they exploit the trust computers have in human interface devices (HIDs). One of the most popular and easily accessible keystroke injection tools is the USB Rubber Ducky from Hack5, which has a huge range of uses beyond simple HID attacks. The USB Rubber Ducky can be used to attack any unlocked computer in seconds or to automate processes and save time.
Possible attacks
Payload Information Gathering Ubuntu
Information gatherer script which collects info from a running Ubuntu OS and saves it to a file named “info_gathering.txt”. The info that the script retrieves is the logged in username, the distribution and kernel version of the running system, the applicability of the shellsock bug, the mounted filesystems, information which is related to the Network adapters, availability of development tools (python, g++), contents of the hosts file and the listening TCP/UDP connections. Apart from that it attempts to find readable folders inside the /etc folder and also prints the SUID and GUID files.
Payload netcat FTP download and reverse shell
This script will:
• create an FTP script that logs you in to the FTP server and download netcat
• delete the FTP script file
• run netcat in daemon mode
• run cmd.exe one more time to conceal the command we used in the run history.
Payload fork bomb
Opens a command prompt as an administrator with run, uses con copy to create fork bomb batch(if you don’t know what this is then see: http://en.wikipedia.org/wiki/Fork_bomb). Then saves the .bat file under the start up program folder and runs it the first time.
Payload MissDirection
Payload will edit the hosts file to allow you to redirect web pages where you would like the user to go.
Payload batch wiper drive eraser
This script will erase attached drives on your computer. Made in to demonstrate batch wiper malware. Features a registry key that will restart the script on reboot, aswell as a vb script that will allow the batch file to run silently on vista and Windows 7 machines.
Payload OSX Local DNS Poisoning
Boot into single user mode and insert ducky. This script will create a local DNS entry in the host file. Change the IP adress and/or url.
Payload OSX Root Backdoor
Boot into single user mode and insert ducky. This script will create a persistent backdoor as the root user. This payload was encoded with v2.4 on firmware duck_v2.1.hex. Change to your IP address or domain name and port number.
Payload Windows 10 : Disable Windows Defender through powershell
Windows defender can be disabled with PS using the following command
Set-MpPreference -DisableRealtimeMonitoring $true
Payload rickroll
It creates and starts 2 vbs files. One of them plays Never Gonna Give You Up from Rick Astley on a loop without any windows showing up. Another vbs file sets the volume to the maximum continuously and if someone tries to get down the volume, it will reset the volume to the maximum level.
How to prevent “rubber ducky attacks”
Hardware protection
| Hardware protection | Cons | Pros |
|---|---|---|
| usb port valve | Makes it more difficult to insert a USB device and keeps the USB port clean for dust | The code can still be executed |
| Complete disconnect usb port form motherboard | Not possible to execute any malicious code from USB | Can not use any USB Device |
Software protection
| Software protection | Cons | Pros |
|---|---|---|
| Use a Antivirus that checks USB devices | The antivirus ask you to trust the usb Keyboard device | The code can still be executed. *Not every Antivirus program ask you to trust a USB device |
| Use a 3th party tool. There a many USB protecting tool. | The are many tools but all of them will ask you to trust the device, some tools ask you to insert a password to confirm. | Not all the tools from internet are save or working fine. |
| Don’t use a computer account with root or admin rights | Your Operating system will ask to insert your password to run the code. | Some basic scripts are still working. Like change your computer settings. |
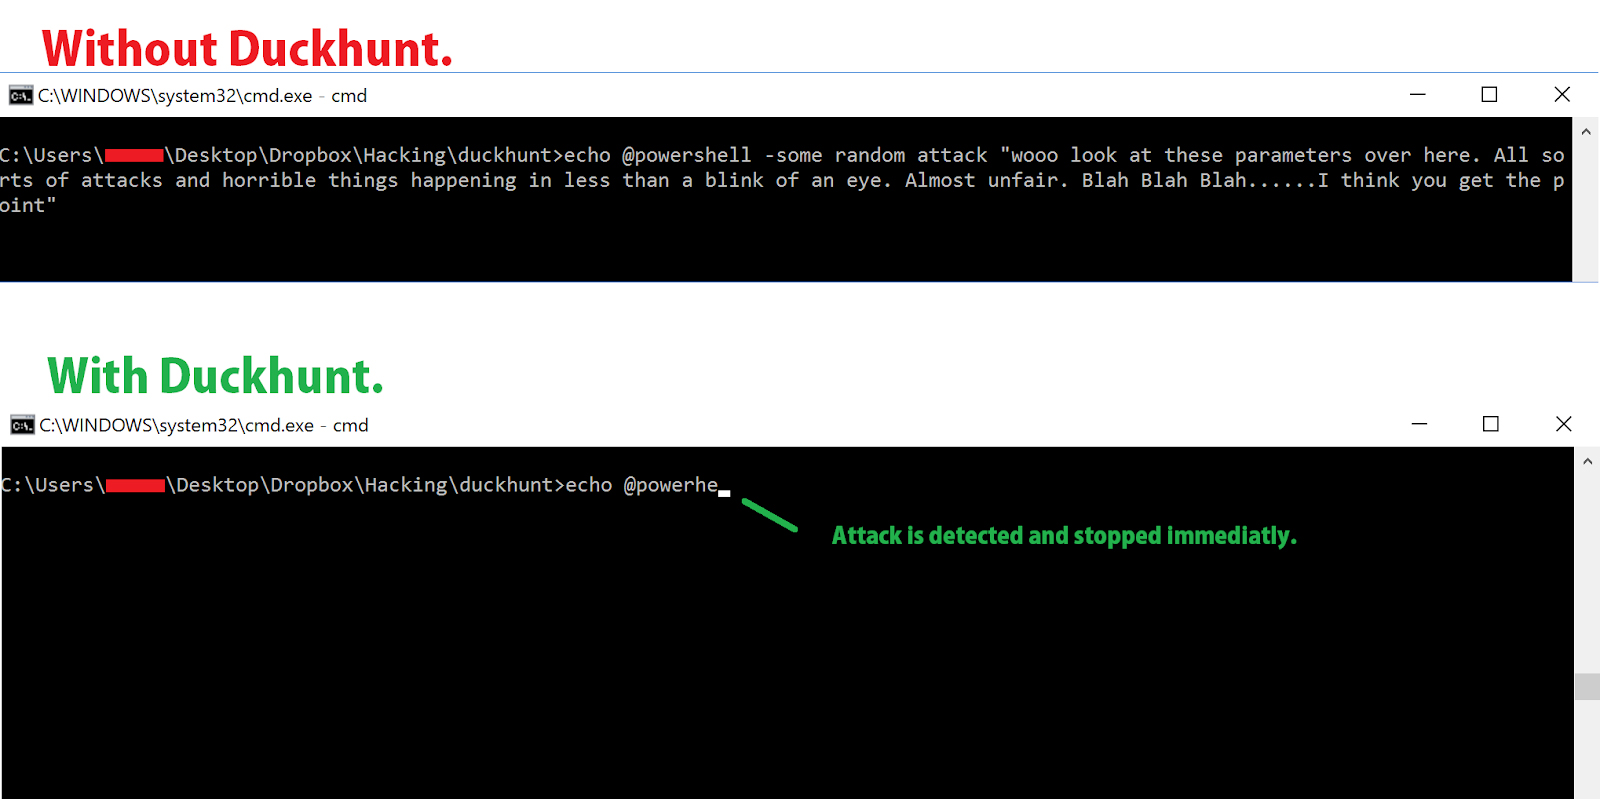
DuckHunt is a small efficient script that acts as a daemon consistently monitoring your keyboard usage (right now, speed and selected window) that can catch and prevent a rubber ducky attack.
(Technically it helps prevent any type of automated keystroke injection attack, so things like
Mousejack injections are also covered.) Use DuckHunter github.com/pmsosa/duckhunt There are many tools on the internet to protect your computer from a USB attacks. Use a tool that
asks you to insert a password to confirm that you want to use a USB device.
Experiments
Changing the name of the Arduino
We changed the vendor id (vid) which is a unique number assigned to each computer hardware device that helps a computer identify the hardware being installed in the computer. We also changed the product id (pid) which is a unique number that helps identify a hardware product or a registered software product. VID and PID are required to distinguish different devices from one to other. VID is allocated by the USB organization at some fees. they also allocate a PID range so the manufacturer can design those many unique devices. This is the reason why we could change the name of the device into USB Device instead of Arduino Leonardo. So when the USB is plugged in the victim only notices an USB device is plugged in and not some weird device. This doesn’t cause the user to panic right away.
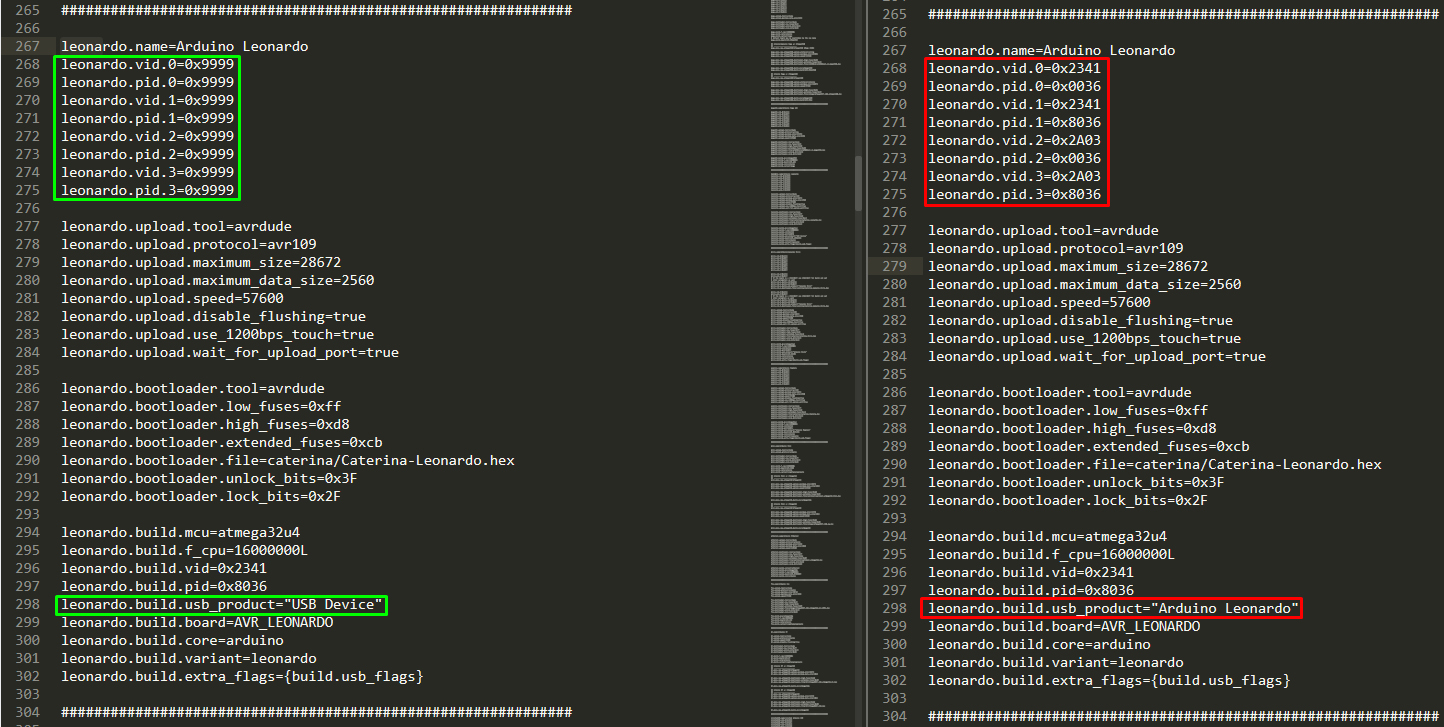
Installation path in windows: C:\Program Files (x86)\Arduino\hardware\arduino\avr\boards.txt
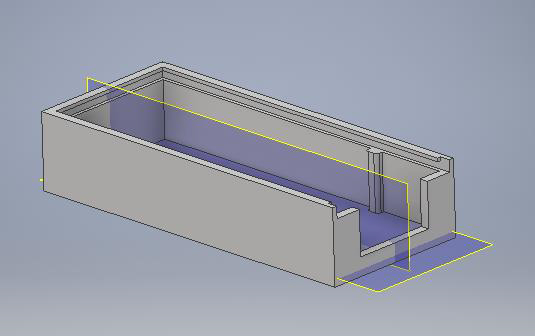
Building a case
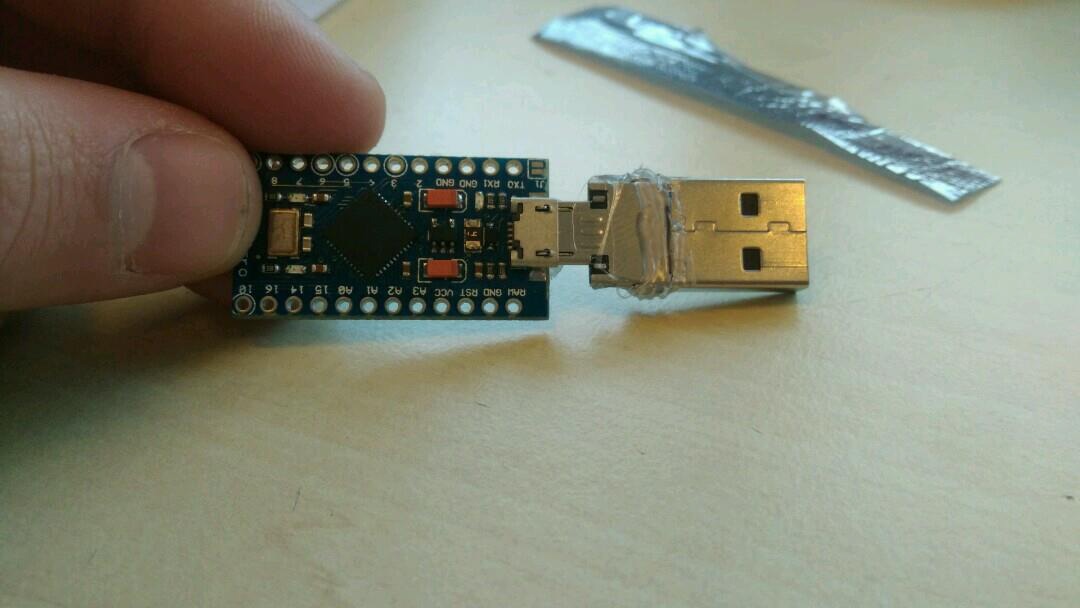

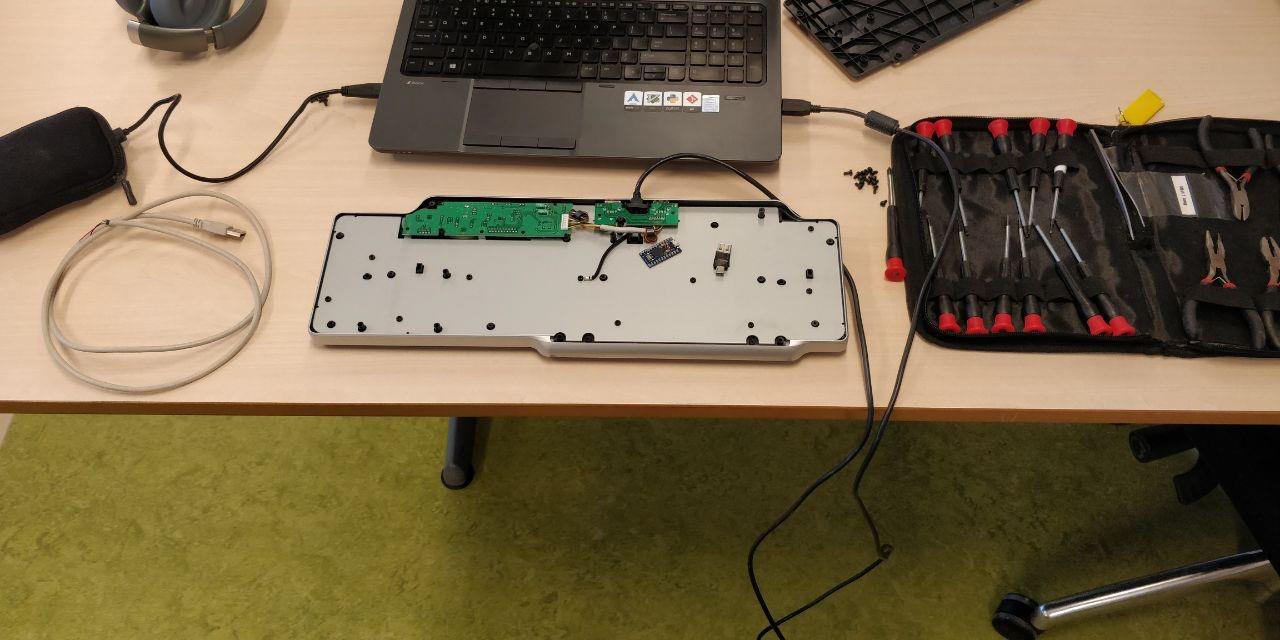
Trying to put the malduino in a keyboard
We opened a keyboard to try and put the malduino in there. We did this to try and proof that any USB you can put in your laptop can’t be trusted. When the keyboard would be plugged in it would first run the scripts on the malduino and then just act like a keyboard, so the user wouldn’t know.
Cost of a Hak5 rubber ducky vs our malduino
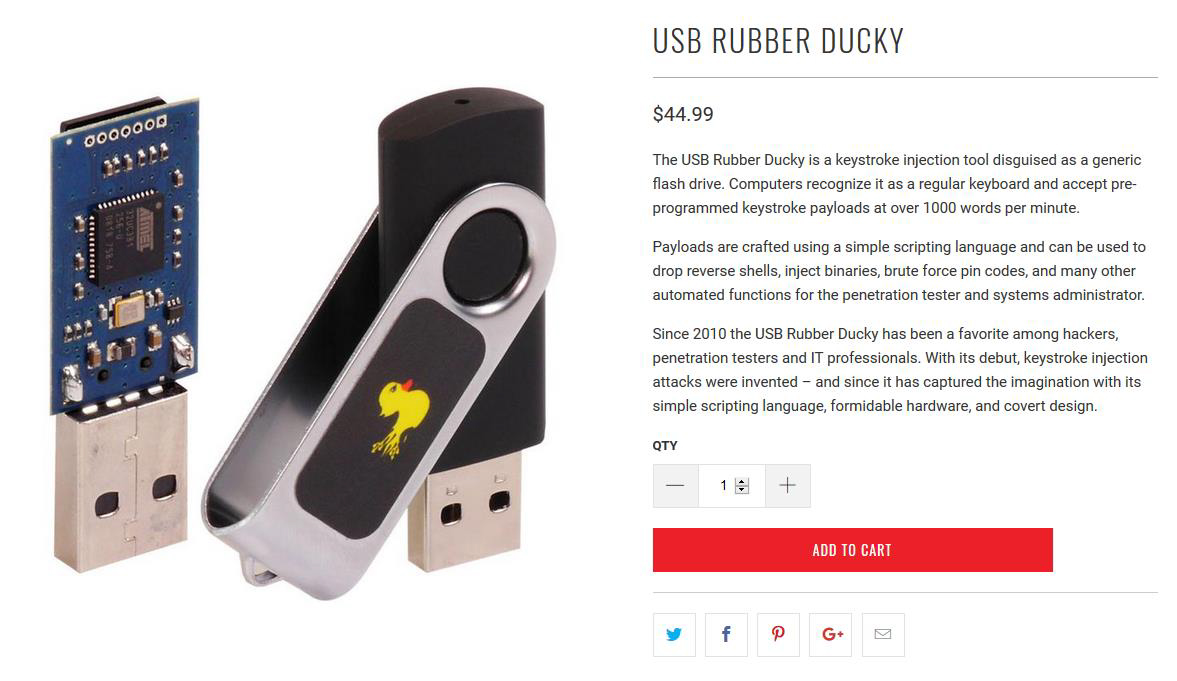
Hak5’s rubber ducky
44.99 dollar = 39,56 euro
With Ducky script to create payloads
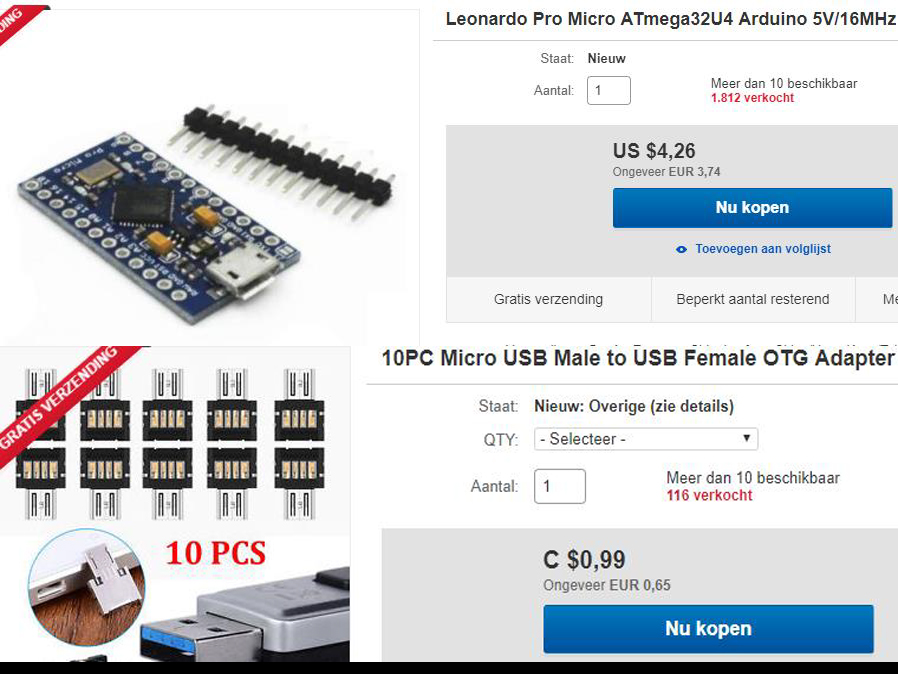
Our rubber ducky
5,68 dollar = 5,00 Euro
Arduino code to create payloads
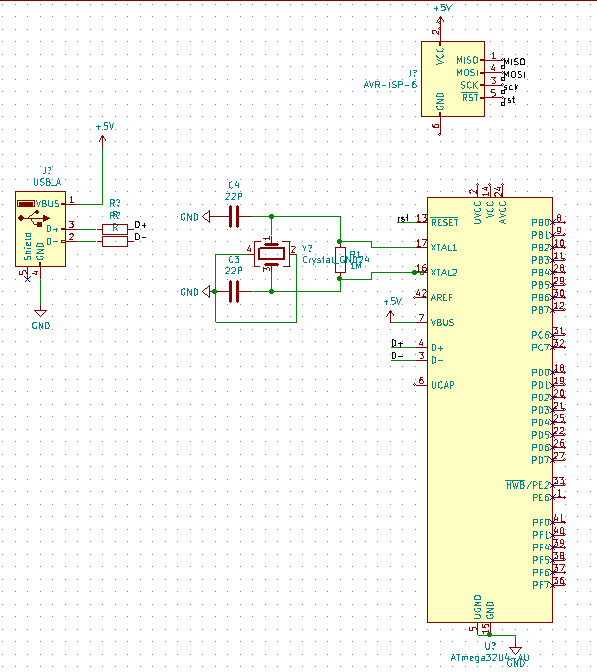
PCB drawing
This is a schematic drawing of our board. It’s not finished yet, but there is progress.
The size could be a factor 10 smaller than the original Arduino Leonardo. We can remove many pins and components. All we need is the technique to upload and run code.
The first version of the PCB does only have the keyboard options. Later on, we would like to extend it with a ESP and even a Mass or flash storage to act even more like a USB.
Conclusion
We reached the goal where our USB rubber ducky simulated a keyboard. We aren’t finished yet because there are still ways and techniques to improve.
The last 8 weeks we learned a lot about how the USB drives operates within different
operating systems as well as we learned about designing techniques to print 3D cases.
